Rotary Module Overview
Main Features:
- 0.001 – 10,000 RPM
- Dry and Liquid tests
- Several test chambers
- mN to 10,000 N load
- Wide torque range up to 50 Nm
What is Pin on Disk Tribometer? The ball, or pin on disk, wear testing machine presses stationary pin or ball against the rotating disk. Measure coefficient of friction (COF), friction force, wear rate, wear volume, temperature, and several other tribology parameters. The pin on disk tribometer wear testing machine setup is ideal for characterizing tribology properties of alloys, ceramics, polymers, metals, coatings, and solid lubricants.
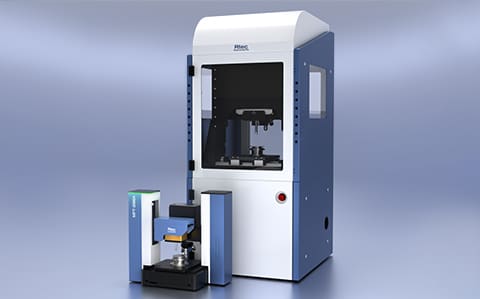
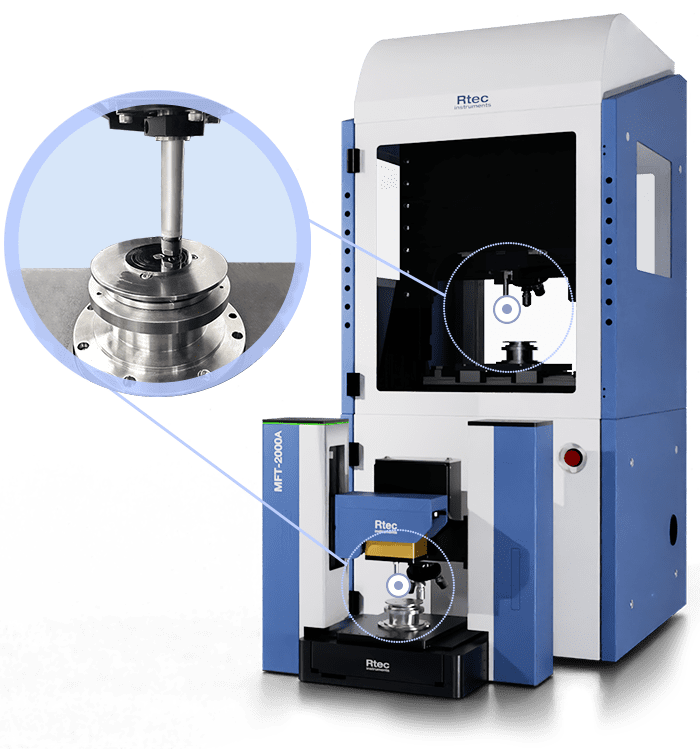
Rtec Instruments Solution – Our pin on disc tribometer rotary module mounts on our tribometers. It works across a wide speed, load, temperature, and environmental range. Using various sensors, it measures friction, wear, and adhesion of any rotating test setup with ease. The patented in-line 3D profilometer automatically measures topography change during the test. The module accommodates several application specific chambers, fixtures and test setups. The module mounts on top of the XY stage and creates any custom motion.
Need help or have a question?
Learn More About The Platforms
The MFT Series Tribometers
Explore our MFT Series Tribometers for versatile surface and material testing.
One Versatile Module. So Many Ways
Rtec Instruments’ pin on disk tribometer module accommodates several chambers and setups. Choice of module and test conditions depend on the final application.
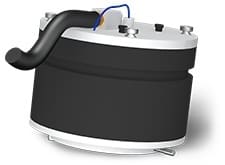
Cooling Chambers
Low temperature chambers from -120°C/ -60°C/-35°C
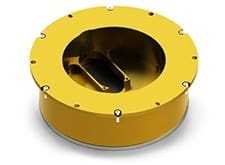
Liquid Containers
High speed liquid containers to avoid spilling liquid even at 5000 RPM+
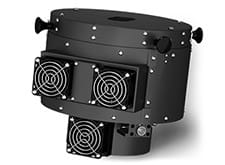
Heating Chambers
High temperature rotary tribometer module achieves 500/1000/ 1200°C range.
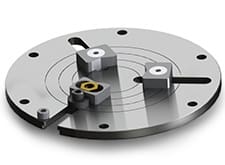
Sample Holders
Universal sample holder mounts several diameter samples easily.
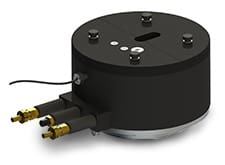
Humidity Chambers
Humidity chamber to achieve 5 to 95% Rh
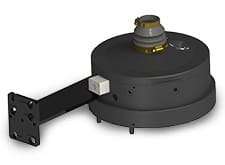
Salt Spray
Rotary drive allows to mount many application specific chambers such as salt spray chamber, and dental.
Automatic In-line Imaging –
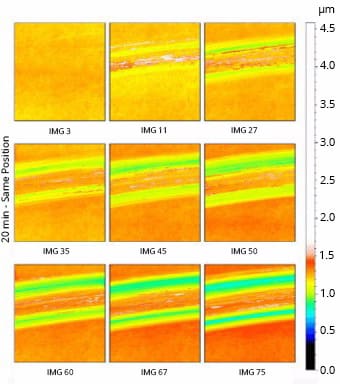
Roughness, Wear, Volume vs Time
Correlate friction, wear, and topography easily
The integrated 3D profilometer automatically measures the surface topography of the wear track during the test. The XY stage with advanced encoders conveniently moves the sample between the test and image area.
The initial 3D image acquired accounts for grain boundaries, roughness, orientation of the samples, and other localized features in contact surfaces. This information can be useful to explain the difference in friction, stick slip, and wear between specimens.
Pin on Disk Analysis
Ball On Disc Setup And Data
Setup
Ball, or Pin, on disc friction and wear tests require two specimens. In this case, a ball is positioned perpendicular to a flat circular disk mounted on the rotary module. The universal upper and lower sample holders are used to mount the samples.
Results
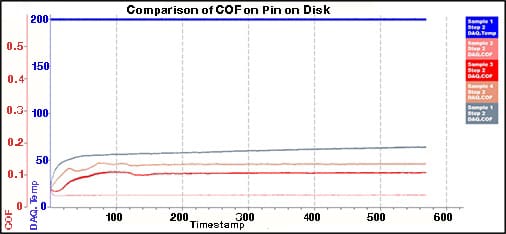
Graph below shows the comparison of coefficient of friction w.r.t. time for four coated samples under same load and speed at 200°C. The coating on sample 1 breaks the fastest while sample 2 shows low friction throughout the test.
Solution To
Due to its multiple configurations, the pin-on-disk module is used extensively across a wide range of industries:
-
Automotive
-
Ceramics
-
Lubricants
-
Hard Coatings
-
Metal
-
Polymer
Need More Versatility?
Need Compact Tribology?
Learn about our benchtop Multi Function Tribometer, the MFT-2000.
Want to learn more?
Get in touch, and request a demo.
recommended
Information
© Copyright 2021 Rtec-Instruments - All Rights Reserved

